The Design Process
How it works, what to expect, and everything else you need to know about remodel design!
The Pre-Design Phase
The entire process starts with the detailed measure of your space, what we call “as-built” measurements. We don’t start brainstorming options until we know exactly what dimensions we’re working with. The standard clearances and code requirements for stairs, bathrooms, and property setbacks really dictate what’s possible and what can fit into a space, so we don’t want to take chances and design something that won’t really work. We’ll take all of the field measurements and build an accurate “existing conditions” 3D Revit model. We then evaluate the local code requirements and your existing home to see what challenges we’re going to face, and whether there are any design issues we’ll need to address early on to give you the best possible solutions – that will actually work.


Schematic Design - The Layout Options
After we get the existing house modeled, we take time to review the list of everything you want to accomplish, everything you’re hoping to achieve, and start laying out options that can achieve those goals. There are usually a lot of different ways to do it! We go through every possible combination we can think of, then narrow it down to the top two or three that work best with the current space. Even this early in the process we take challenges like structural openings and bearing walls into account, and make sure our options aren’t so far-fetched that they’re likely to blow the budget before we even start.
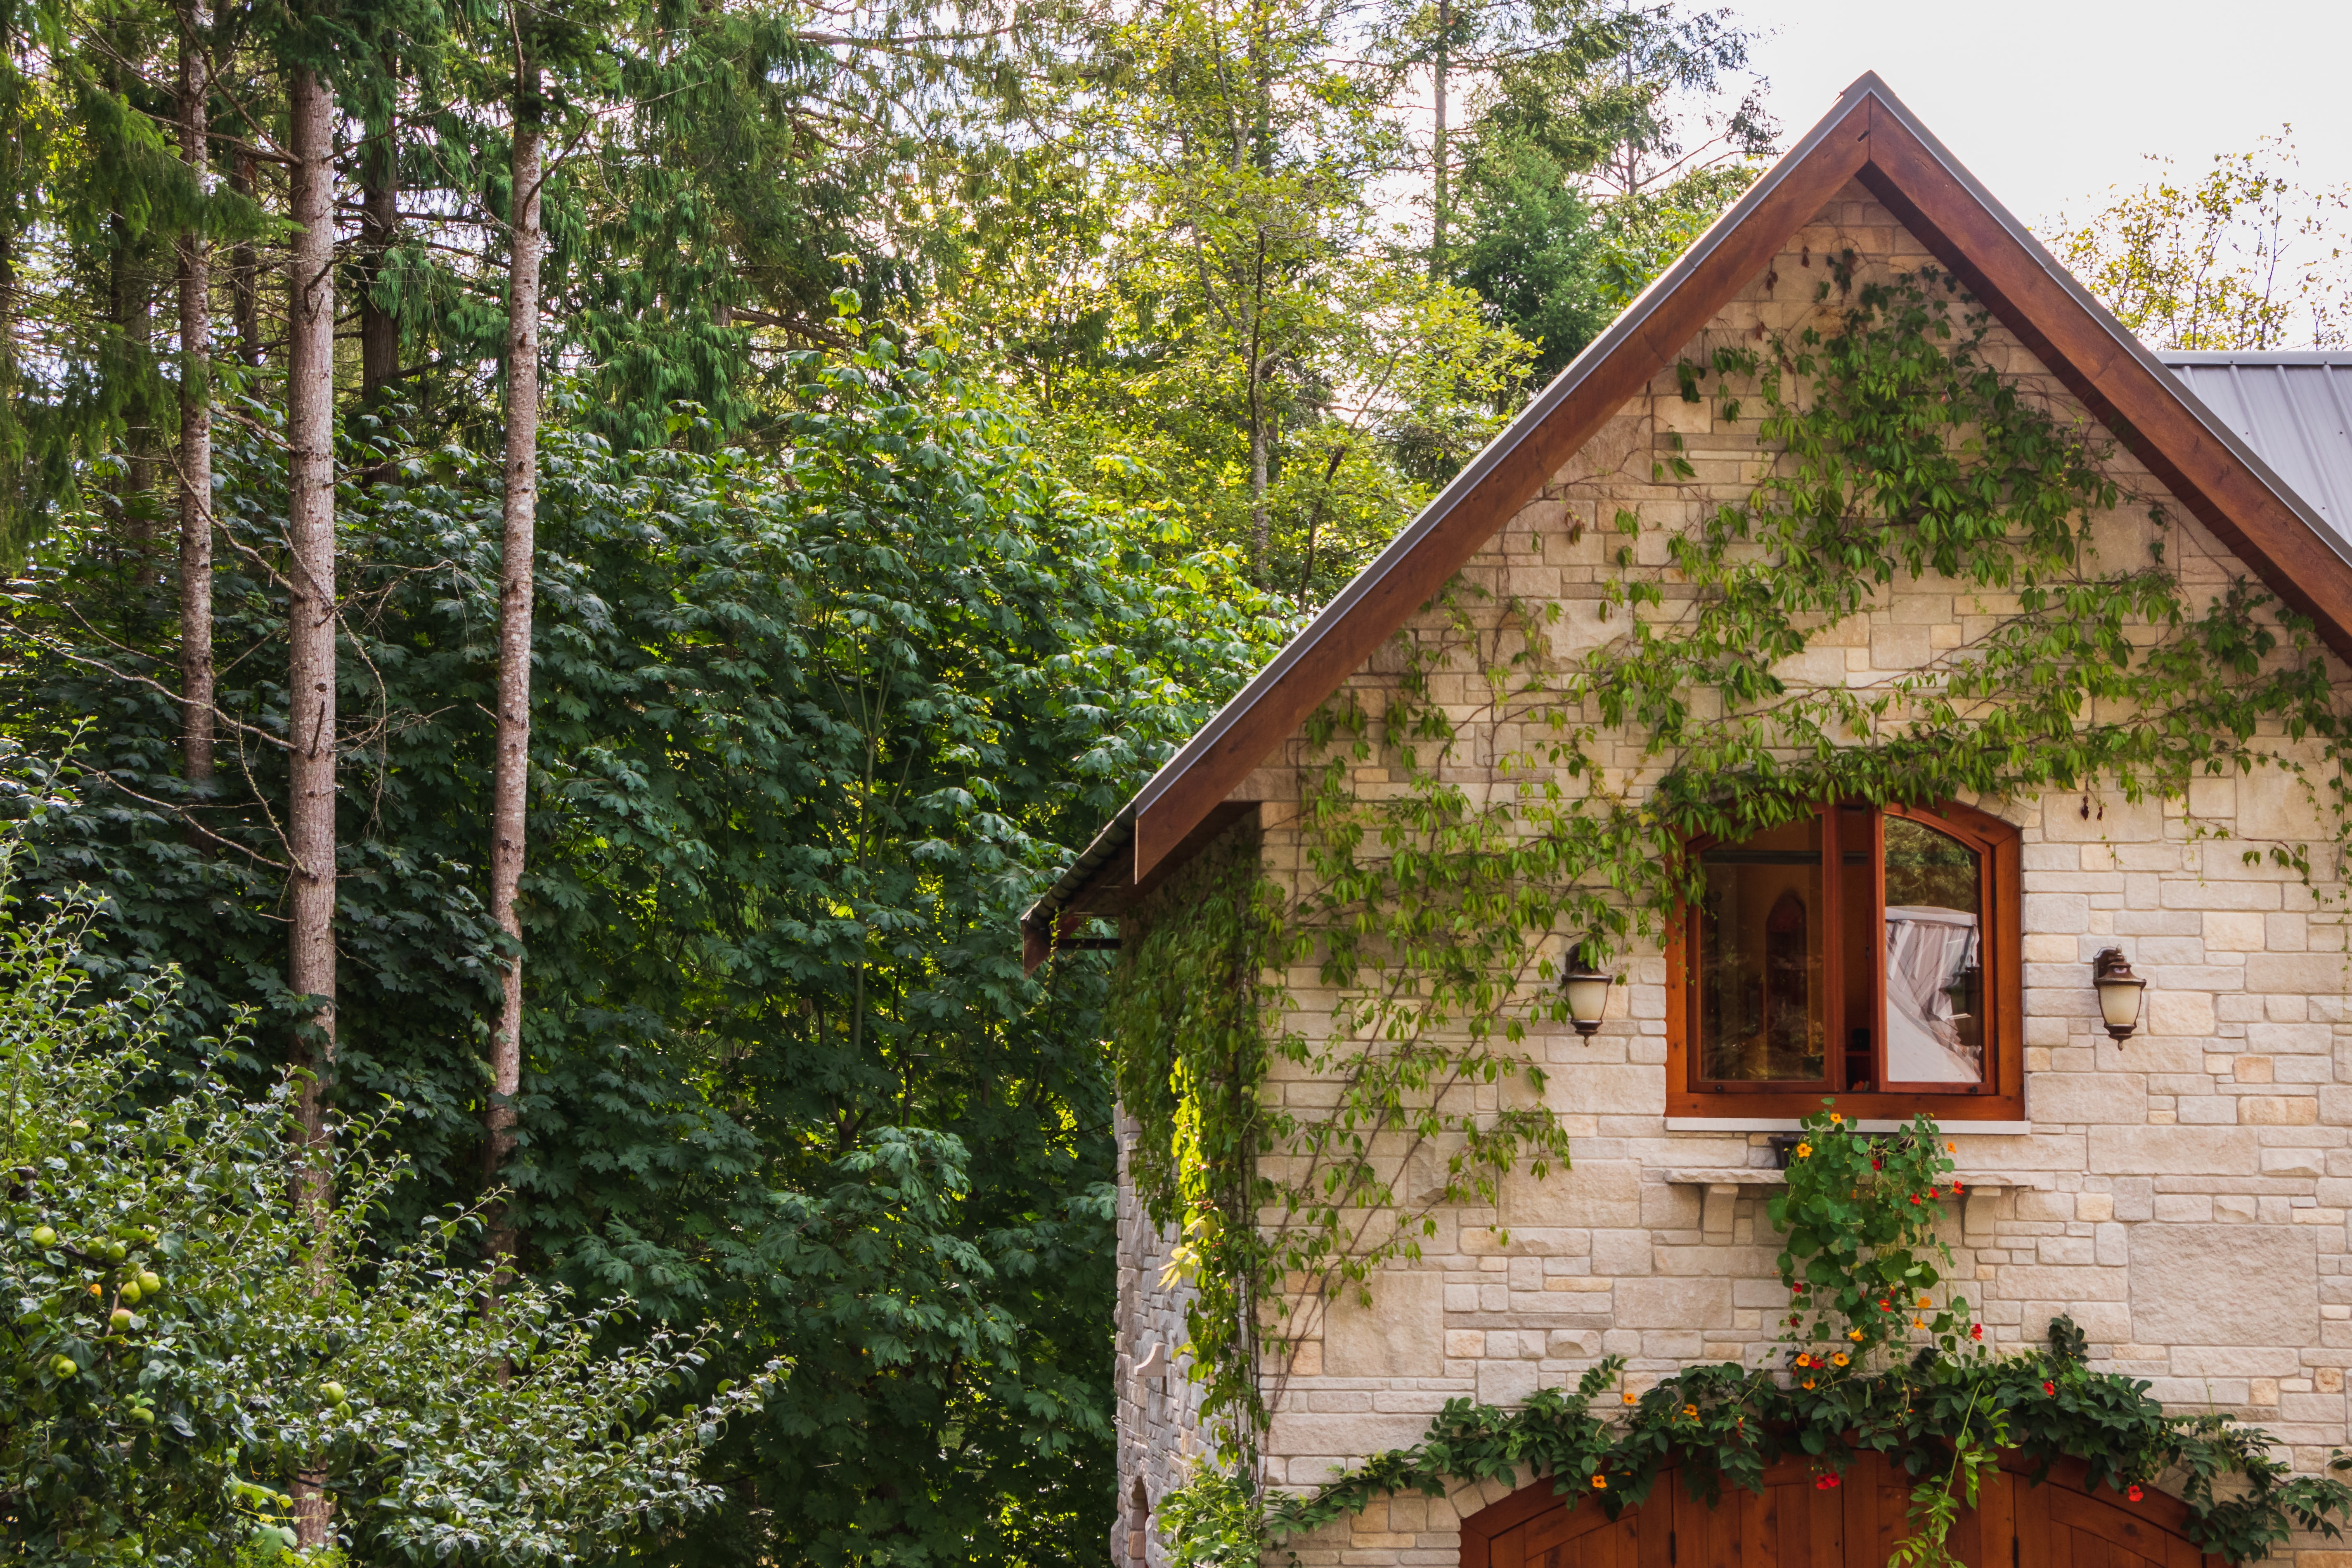
At this stage of design we are really just focused on overall look and flow. How will you access these spaces? If the bonus room will be used mainly for entertaining big groups, does it need to have easy access from the main living room? Or if it’s a space to stick the kids when they’re being rowdy, maybe it should be accessed from the other side of the house. We figure out how the spaces will be used and how they need to relate to the rest of the house. There’s a huge emphasis on making these spaces feel like they’ve always been there, never an afterthought; this has a big impact on resale value – even if you never plan on selling the home, it’s important to make sure we’re growing its value for your kids or your estate. Anything that sticks out or doesn’t feel congruent and intentional will stick out for future buyers too. We also work hard to keep in mind the future potential for the spaces; maybe it’s going to be grandma’s suite for now, but in the future needs to function as a second living space or home office. How can we keep it as flexible as possible?
Our early process usually results in two to three of the best layout options:
There’s usually a “budget” option, that keeps as many of the existing walls, surfaces, and structural pieces intact as possible while still meeting as many of your goals as we can. Usually this option involves all of your “needs” but may not have all of your “hey, if it works out, can we include…” options.
The second option is what we call the bells and whistles option. It’s everything you need, everything you wanted, and everything we can think of that would likely serve your family and your lifestyle well, that happened to fit in the space (things like extra closets, built-in storage and home office spaces, bigger pantries, that sort of thing).
The third option is somewhere in the middle - all the must-haves, and a few extras that fit in the space and will likely serve you well.
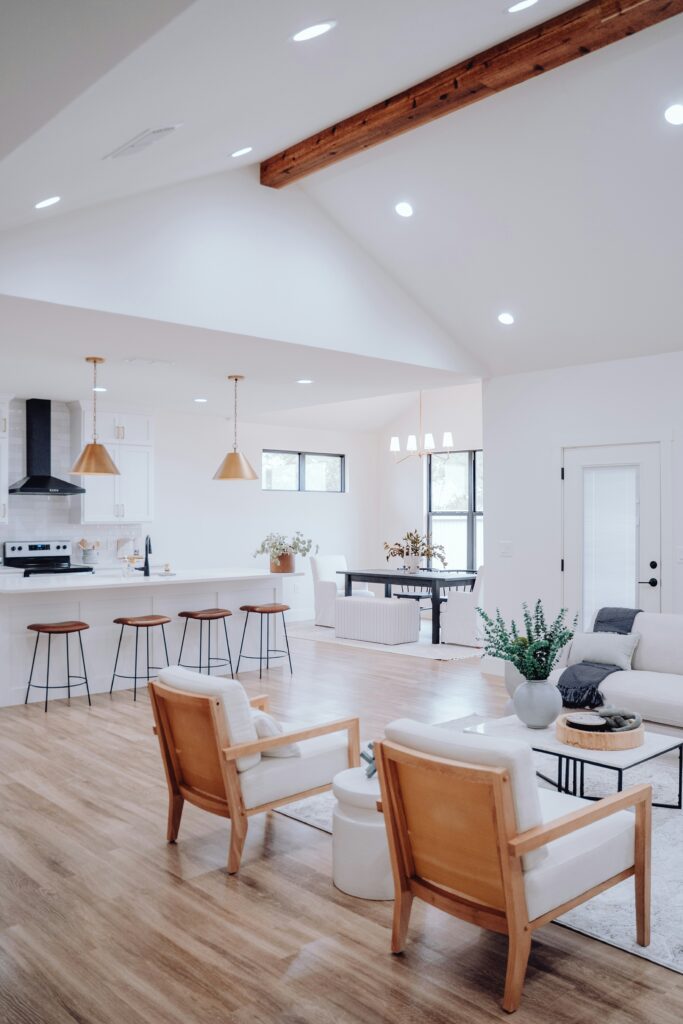
After we come up with the layout options, we’ll take a bunch of 3D renderings so you can see what the spaces look like inside and out. The average person has a hard time looking at the 2D plans and visualizing the new space, so these renderings are super helpful for most people to actually get a sense of what the options are suggesting and how they’ll work with your current house.
We’ll then schedule a sit-down meeting with you to go over the three options. Again, at this stage it’s all flow and access; is the laundry closet big enough, or does it need to also function as a mud room and drop zone? Does your master bedroom need a full sitting area? Do you mind accessing your walk-in closet through the bathroom, or does it need direct access from the bedroom? You never really know how your ideas are going to work until you get them on paper and see how they lay out; at this stage there’s usually a few ideas you hadn’t thought of that end up being super important, often we’ll realize some ideas just don’t work how you wanted them to, and sometimes the scope of the project changes completely. We go through each option talking about what works, what doesn’t, what you love and what you hate.
Usually at this point it goes in one of two directions. Sometimes one plan stands out as a clear winner, and there are elements from each of the other plans that you’ll also love. We’ll take all your feedback, then put together a new option that addresses everything we talked about. Other times, all the options we come up with just aren’t quite right or are not quite what you envisioned. On really difficult design projects where we’re dealing with odd shapes, weird access routes, multiple levels, and the ever-challenging question of where to put the stairs, this can be the case. That’s okay! We didn’t quite get it right this time, so we’ll talk through why it isn’t right, then we’ll go through the whole process again. We’ll come up with another couple of options that are hopefully a little closer, talk through them, and keep working until you’re happy.
No one knows how you live and how you use your house quite like you do, so it’s a very collaborative process to work through the options and find what works best for your family.
Design Development - The Detail Work
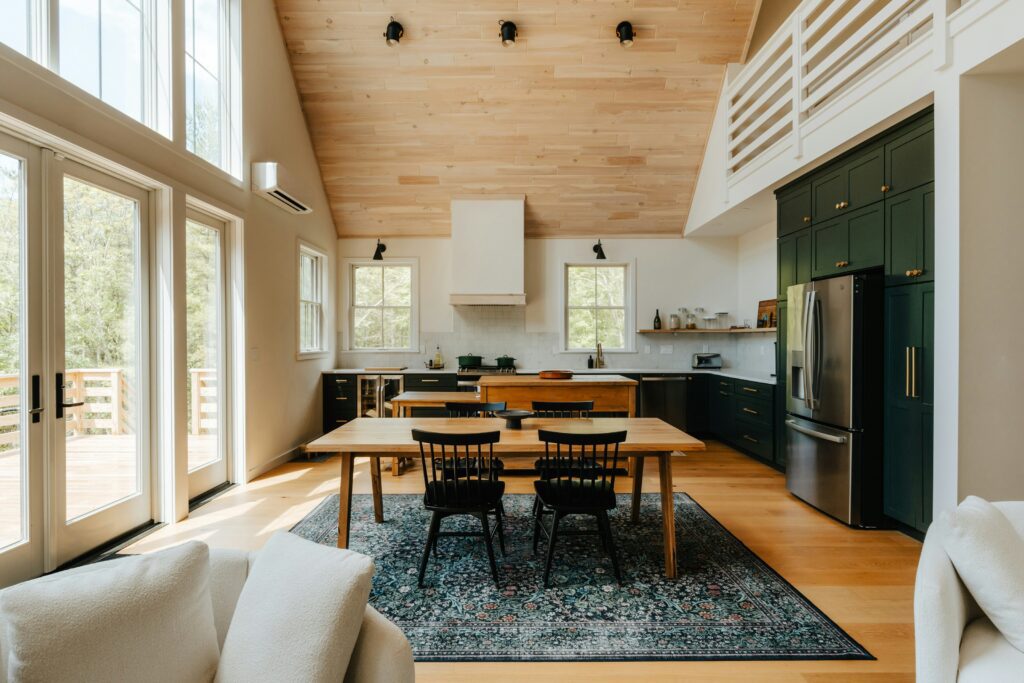
Once we’ve settled on a general layout that works and accomplishes your goals, we’ll start digging down into the details. We’ll usually do another round of review on our end with the layout, making sure it’s truly the best option – sometimes we can be more efficient with closet layouts, door locations, and that sort of thing. At this stage we’ll work through details like room sizes, window sizes and locations, bath and kitchen layouts with plumbing and appliance fixture locations, lighting layouts if needed, and clear space for furniture and accessibility.
We’ll also loop in the engineer if needed at this point, along with your builder if you’ve chosen one. The earlier we can get feedback from the other members of your team, the better your final design will be. We’ll make sure whatever we’re designing is buildable, in your budget, and that we haven’t missed any options that will make it more efficient or easier to put together.
Permit Sets and Consruction Plans
For projects requiring building permits – projects like living space conversions and additions – we’ll develop a full permit set meeting your specific jurisdiction’s requirements for submittal. These sets usually include a site plan, floor plans and exterior elevations, building sections and construction details. These sets usually don’t include plumbing plans (beyond fixture locations), electrical or HVAC plans – they aren’t required for the building permit, and your tradespeople will usually apply for these separately on a simple form.
For projects not requiring permits, we’ll put together a full builder set with all the information your contractor will need to complete their final estimate and get your project built. These sets typically don’t include finish plans unless your design package includes interior design, so you’ll have enough information to ask the right questions and work through any remaining details with your builder.
Interior Design
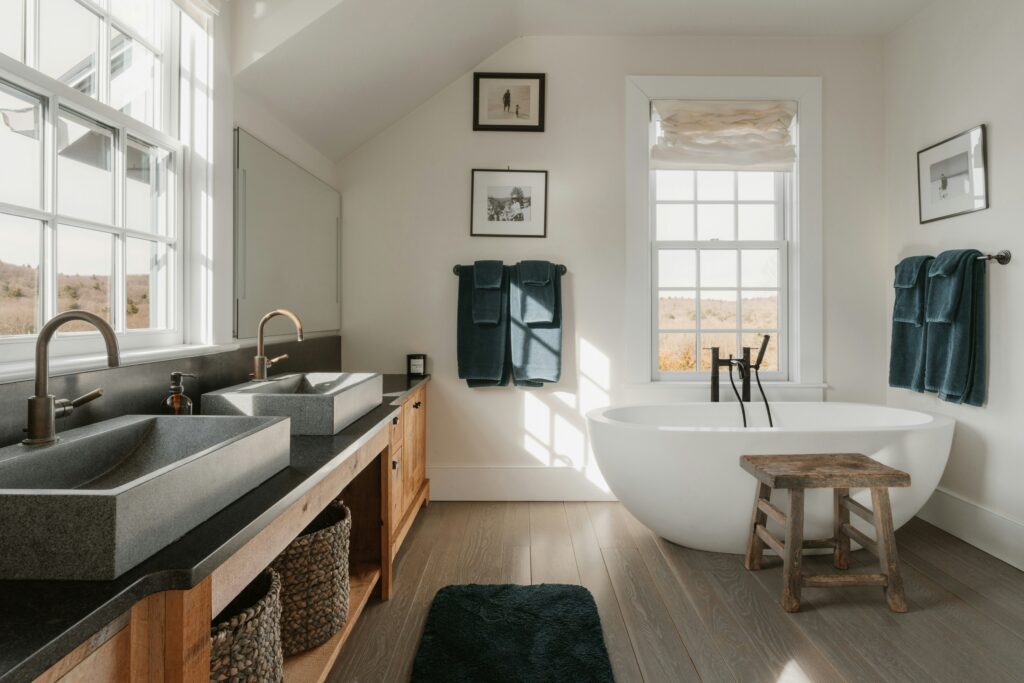
If you’ve chosen to receive help with interior design, we’ll start work on finishes and selections after the permit or construction plans are complete. We’ll work with you to figure out the big-picture vision: what’s your style? What do you end up pinning over and over again on Pinterest? What do your daydreams for the space look like? We’ll work through big surfaces – flooring, paint, cabinets – and then drill down to the details like cabinet hardware and plumbing fixtures. We’ll put together 3D renderings with your finishes so you can get a good overall sense of how the space will come together. We’ll draw up finish plans for your builder (or you if you’re the DIY type!), and a full specifications booklet of your selections so you’ll have it for reference if you ever need to replace anything or repaint.
That's it!
Then we’re there through construction to make sure things go right. We’ll be there to answer questions and help come up with solutions if things aren’t working out or if surprises come up when the walls come down.