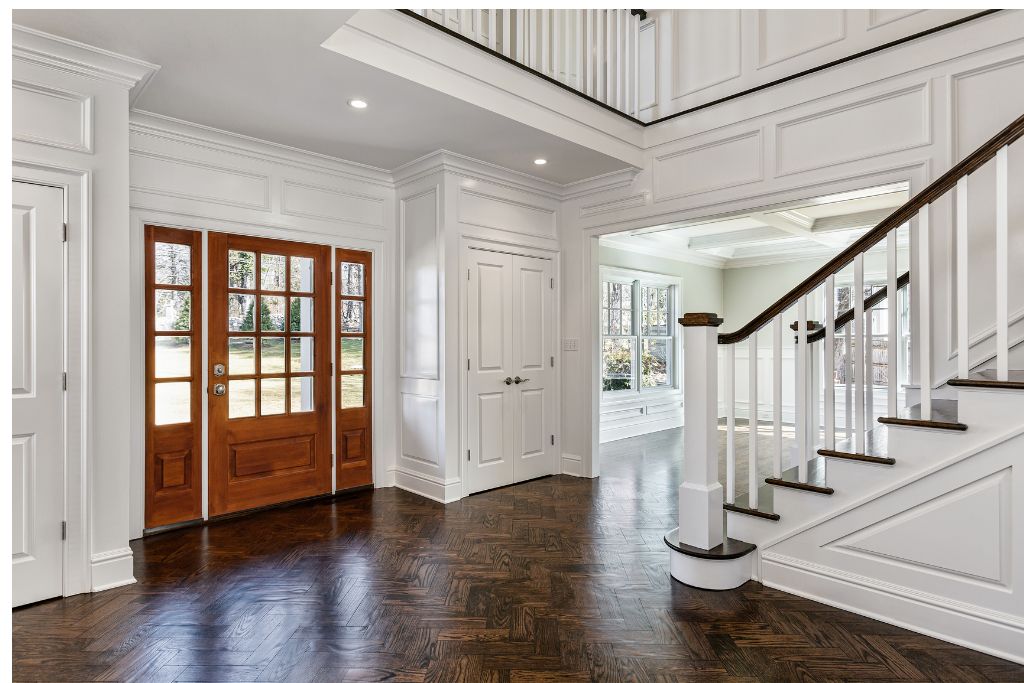
Wooden interior doors are sturdy, reliable, and do wonders for the aesthetic of a home. But sadly, they often bear the brunt of daily wear and tear. Learn how to refinish an interior wood door in 10 easy steps from our tried-and-tested experience!
Knocks, bumps, and slams can cause chipped paintwork, while wood-stained doors can sometimes look outdated instead of pleasantly rustic, especially if the stain becomes faded or less fashionable.
Refinishing your doors is a quick, cheap, and simple way to achieve a new look indoors. Stripping the paint and adding a new stain can bring out the natural wood and beautiful grain. Repainting your door can brighten up your doorways and bring life to a tired aesthetic.
What you’ll need:
- Raised workbench
- Dustsheet or plastic protective cover
- Screwdriver
- Paint stripper
- Stain remover
- Respiratory mask
- Safety goggles
- Electric sander
- Sandpaper (between 100-120-grit)
- Lint-free cloth
- Your desired finish (paint or stain)
- Paintbrush and painting tray
- Sealant
- New hardware (optional)
#1. Take the door out of its frame
Your first step to refinishing an interior door is to remove it from its frame. Exterior doors can be left on their hinges while they’re refinished, but it’s never a good idea to do this with an interior door. Removing it will always help you achieve a better, cleaner finish.
Removing paint or wood stain can be messy and it’s best to keep the door as far away from your carpet or flooring indoors. Once removed, find a space indoors or outdoors to set the door flat.
An outdoor space, like a front or back yard, is preferred, as refinishing doors can be dusty. However, a garage or shed with the doors open is also suitable if the weather is bad.
Use a workbench to keep the door elevated, as this will make it easier to work with. Lay a dustsheet or plastic covering beneath to catch any dust or mess from paint stripping.
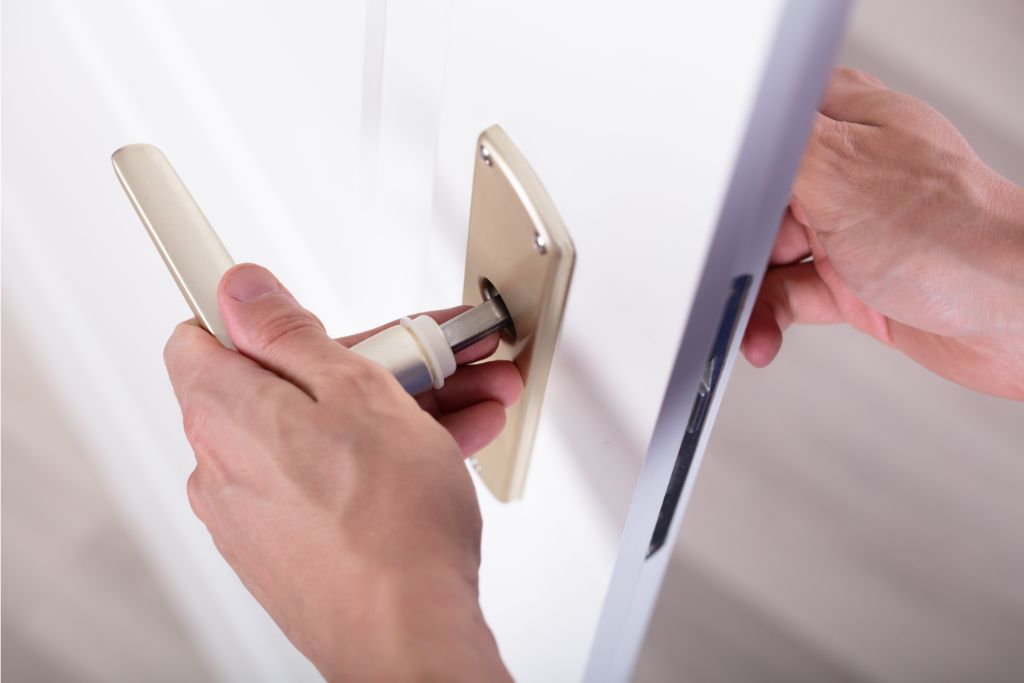
#2. Carefully remove hardware
To get the best finish on your wood door, you’ll need to remove all the hardware, including the knobs, locksets, hinges, and decorative plates.
You shouldn’t need to remove the faceplate (the rectangular plate fitted to the door edge that helps it close fully), as you can simply tape this up to protect it during refinishing. However, these are easy to remove and refit if you prefer to do this.
#3. Strip paint or stain
Before refinishing your door, you should remove the existing finish. While you can paint over existing paintwork, it isn’t a good idea.
Doing this can lead to an uneven finish that will chip or flake in the future. By painting over paint, you can also make the door thicker, which may seem negligible, but it can mean the door won’t fit into its frame. The same applies to if you try painting or staining over existing varnish.
There are many ways you can remove paint or stain from a wooden door. I’ve found the easiest, fastest methods are to use tailormade products, like paint stripper or varnish remover.
To strip paint from a wooden door, you need to:
- Conduct a patch test to ensure it doesn’t burn or corrode the wood
- Apply paint stripper to the door evenly using a paintbrush
- Cover with clingfilm and leave to dissolve for the recommended time
- Remove the clingfilm and use a putty knife to strip any remains
- Wipe the surface clean with a damp cloth
To remove stain from a wooden door, you should:
- Patch test the product on an unnoticeable area
- Pour the stripper onto the wood and spread evenly with a paintbrush
- Leave it for the recommended time (usually up to 20 minutes)
- Scrape the stripper off with a putty knife
- Clean the surface with a damp cloth
Be careful when trying other methods suggested online (like sanding paint/stain away) or using household substances (like bleach or vinegar) to remove finishes from wood. While these can be effective, they can release toxins into your home or, in severe cases, damage the wood entirely.
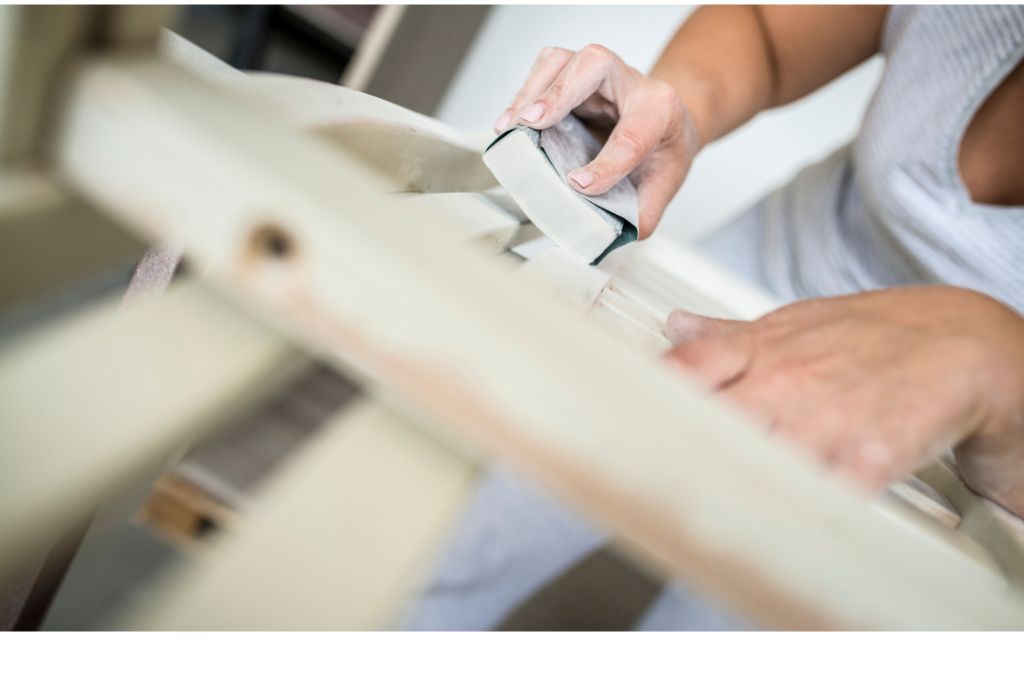
#4. Lightly and evenly sand flat areas
Once the finish has been removed, sand the door to roughen up the surface. This will enable the new finish to stick properly. Use an electric handheld sander and lightly sand the flat areas. If any rough edges or small pieces of stain/paint remain, gently sand these areas by hand to smooth them out.
#5. Sand grooves by hand
Most interior doors have decorative grooves, like lines, borders, or trim. Sanding these with an electric sander can be difficult. It can also disrupt the evenness of the edges.
Sand any grooves by hand instead. Use low-grit sandpaper (between 100-120-grit) between and inside the grooves. Once the entire door has been sanded, use a damp lint-free cloth to wipe away any dust or residue.
Interior doors can be refinished in many ways to create your desired aesthetic. Painting an interior door a bright color opens up a room and promotes better natural light reflection. On the other hand, darkening a door accentuates carved details and makes woodwork appear more elegant.
Staining a door offers the opportunity to keep the natural, grainy wood finish. Most wood stains are available in a dark or light orange hue, but you can also get lighter wood stains, like white, grey, and pastel colors.
#6. Choose and apply a finish
Applying a paint finish
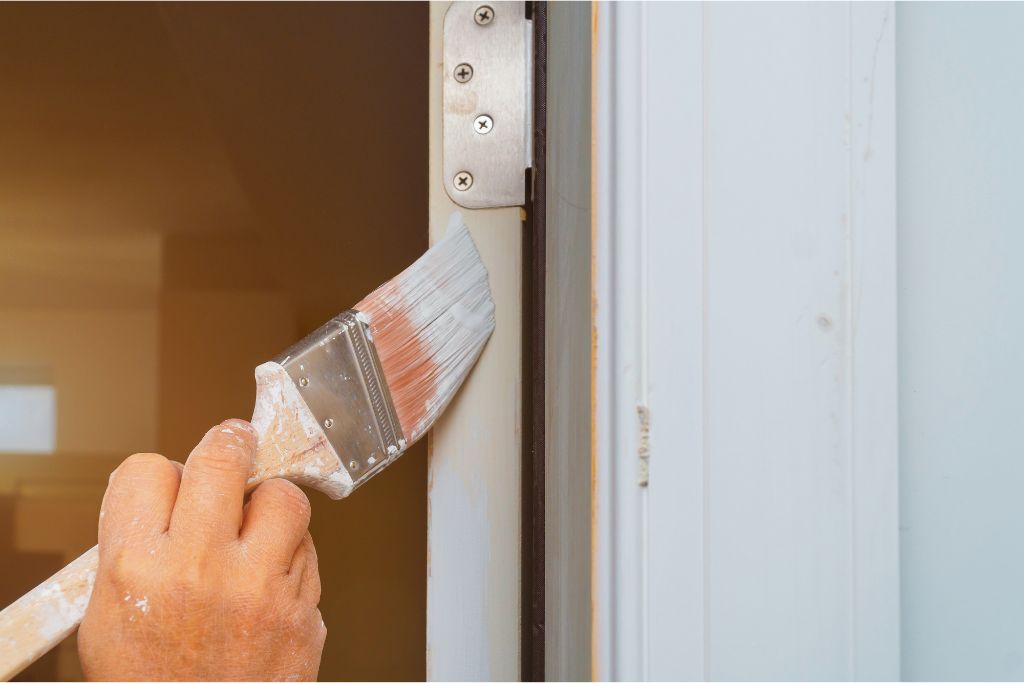
To apply a paint finish to a wooden door, you should:
- Choose a suitable wood paint
- Sand and clean the surface with a damp, lint-free cloth
- Apply a thin coat of primer to the door
- Lightly sand the first coat by hand with low-grit sandpaper
- Clean the surface with a damp, lint-free cloth
- Apply a coat of wood paint using a paintbrush or roller
- Lightly sand with low-grit sandpaper
- Apply further coats as needed, sanding in between coats
Applying a stain finish
To apply a stain finish to a wooden door, you should:
- Put on protective clothing, including a mask, gloves, and goggles
- Use a lint-free cloth or a paintbrush to evenly apply the stain in long strokes, going in the direction of the grain
- Wipe away any excess immediately to avoid dark patches
- Leave the stain to soak in for the recommended time
- Wipe off the stain using a lint-free cloth
- Gently sand the surface by hand using low-grit sandpaper
- Apply a second coat, as needed, sanding and cleaning between coats
#7. Seal the finish
Sealing painted or stained furniture is important to help the color last. When you choose not to seal a painted door, it can chip, flake, or peel. It can also stain easily from things like water droplets or household cleaning products. Sealing stained wood isn’t as essential as painted wood, but doing so will prevent the color from fading or bleeding.
#8. Leave to dry fully
Once you’ve applied your sealant to the door, leave it to dry fully, as per the product specification. Ideally, you want to leave the door to dry in the sun or at room temperature. Leaving it to dry in a cool or non-insulated basement or garage may take significantly longer than a room inside the house.
#9. Refit the door
Now your door has dried, it’s time to refit the door to its frame. You’ll need to refit any hinges you removed before fitting. Securing a wooden door can be tricky and it’s often best to enlist help from another person. Sometimes, painting a door can lead to it no longer fitting into its frame. If this happens, you’ll need to plane the bottom or sides to trim it back down to size.
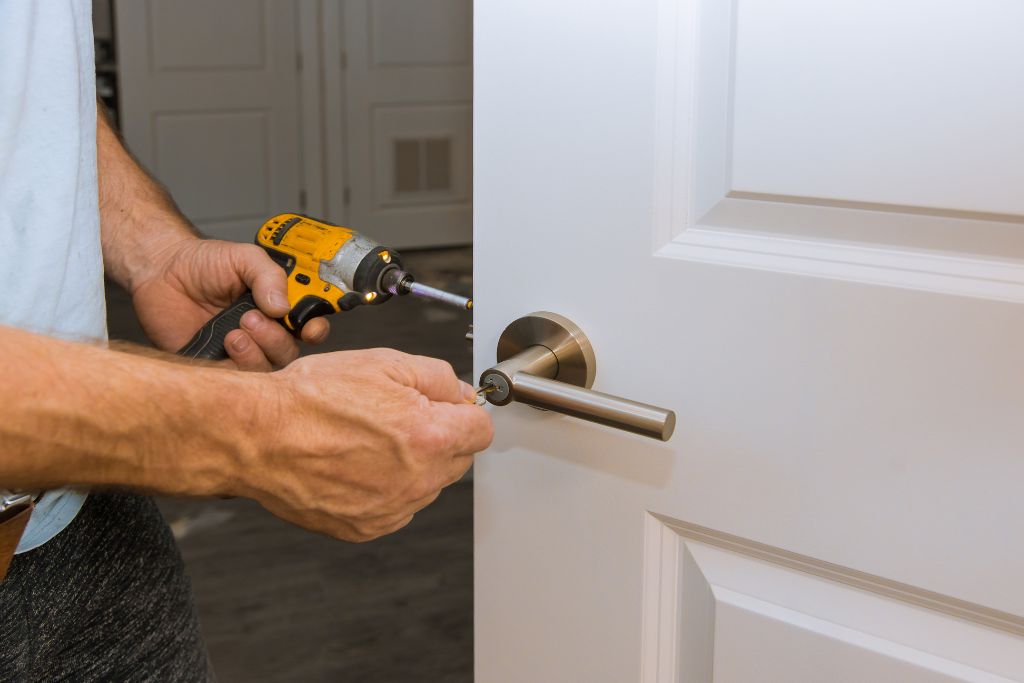
#10. Refit or replace hardware
You’re almost finished! Once your door is fully secured, it’s time to refit or replace your hardware. New hardware can make a big difference to how your refinished door looks.
When choosing new hardware, select tones that complement the new color. For example, neutral-painted door colors (like white or pastel colors) pair well with silver hardware, grey doors suit black hardware, and wood-stained doors complement bronze hardware.
Now that your freshly refinished doors are bringing new life to your home check out these 10 Home DIY Projects that can improve the other areas of your home!